We hope that everyone who receives a Spry diffuser of some kind will enjoy the the aroma, the furnishing, and the rituals that will help you make the very most of every drop.
Please follow these care and usage instructions to avoid disappointment or mishap.
Diffuser Care ~
It’s a two-way thing.
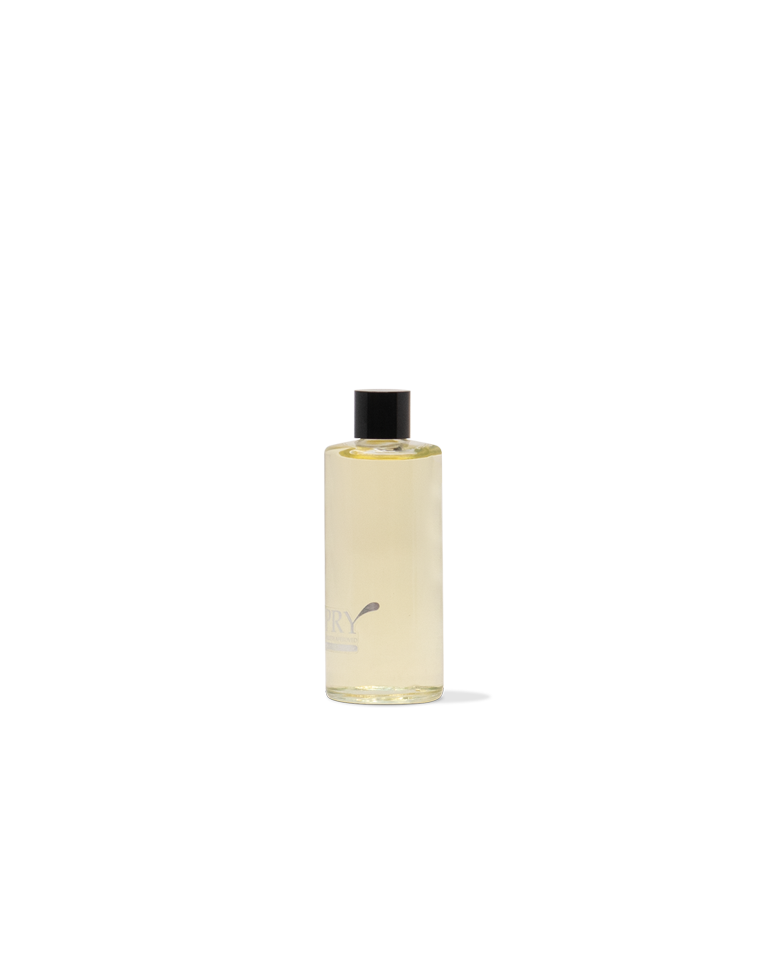
DIFFUSER OIL STORAGE
To preserve your oil’s condition and scent, store it in an upright position and avoid direct sunlight or heat and domestic heat sources.
NOTE ~ Keep out of reach of children and pets.
Using Reed Diffusers Properly ~
There is such a thing as the optimum diffuse.
It gives the best scent, the most enduring provision of fragrance, and it returns value on every millilitre of oil.
PREPARING A NEW REED DIFFUSER
Remove the inner stopper from the diffuser bottle. Replace the chrome cap to the bottle. Insert reed sticks and leave them to absorb the oil.
NOTE ~ Take care to avoid spillages.
POSITIONING A REED DIFFUSER
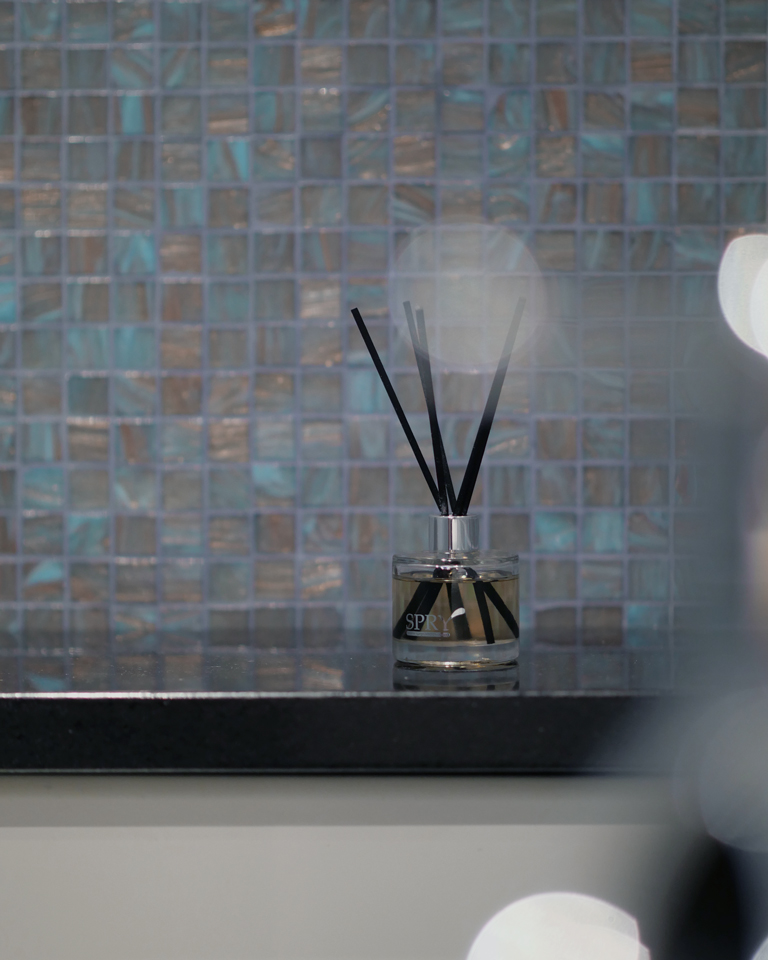
Reed diffusers can be positioned anywhere you wish to enjoy aroma, especially where people pass through or by. Always position the diffusers below head-height.
Where to place them usually depends on what you are trying to achieve in practical terms—but also sensually and decoratively.
NOTE ~ Do not place reed diffusers directly on polished, varnished, painted, plastic or leather surfaces or on electrical equipment as accidental spillage may cause damage to materials.
RELATIVE ROOM SIZES
Naturally, to fragrance larger rooms will require larger, or more, reed diffusers. Here’s some guidance to achieve a satisfactory diffusion for rooms with ceiling heights up to 4m:
bedside or desk area ~ one 50ml bottle
up to 5 m2 ~ one or two 120ml bottles
5 – 10 m2 ~ one or two 210ml bottles
10 – 20 m2 ~ one or two 500ml bottles
ACTIVATING A REED DIFFUSER
Pop the reed sticks into the oil, and they will begin to absorb the scented oils immediately.
Depending on the surrounding conditions, a reed diffuser will begin to emit fragrance after a few hours or more. This process will initially absorb oil rapidly, but you will soon notice how the level in the bottle barely drops day to day.
NOTE ~ You can turn the reeds after an hour to accelerate the activation process. Take care and wear gloves when handling used reed sticks.
DIFFUSING SCENT BY REEDS
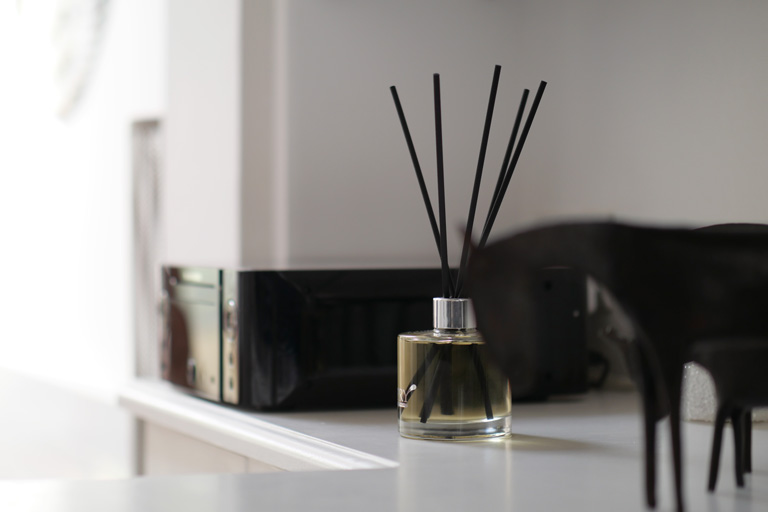
Use our recommended size and quantity of reed sticks to ensure the optimum diffuse. Use more sticks, if you wish to increase the fragrance output.
NOTE ~ Using more sticks than specified will significantly accelerate the evaporation of your diffuser oil.
TURNING REED STICKS
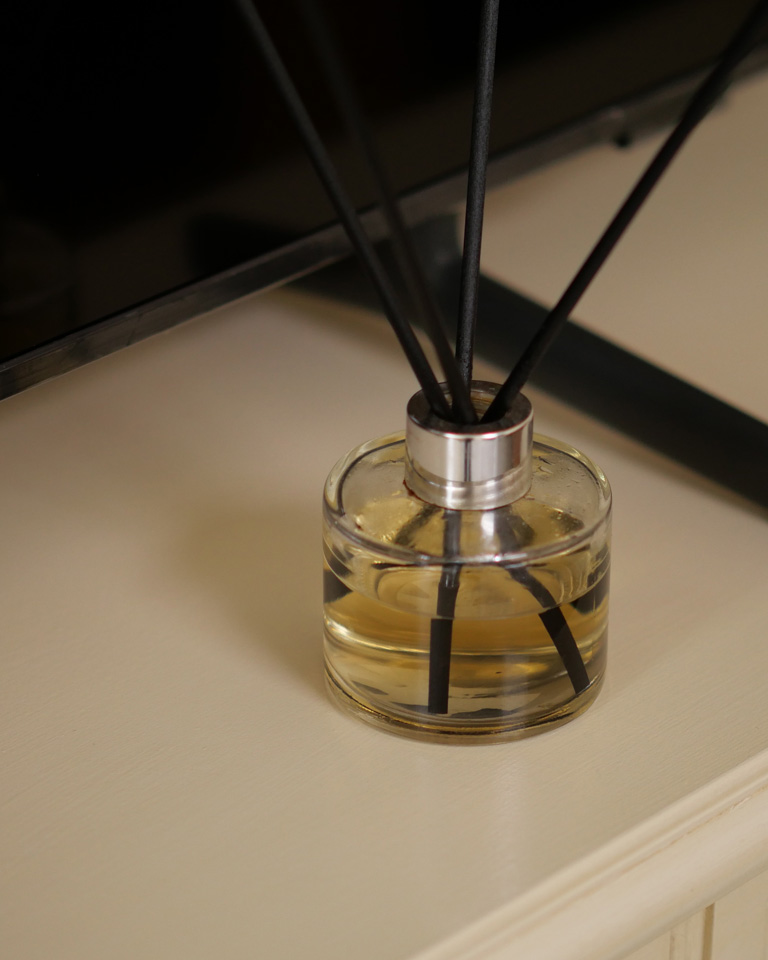
Our reed sticks are not the common used wooden type, so they do not need repeated daily turning for you to smell our fragrances. Instead, they seldom dry out and will require only occasional turning.
After all, there are greater rituals to be enjoying.
NOTE ~ Take care and wear gloves when handling used reed sticks.

REFILLING A REED DIFFUSER
Decant your refill oil into your diffuser bottle and renew your reed sticks.
Take care not to drip oil on surfaces as it may stain.
NOTE ~ Do not decant Spry diffuser oil into plastic vessels.
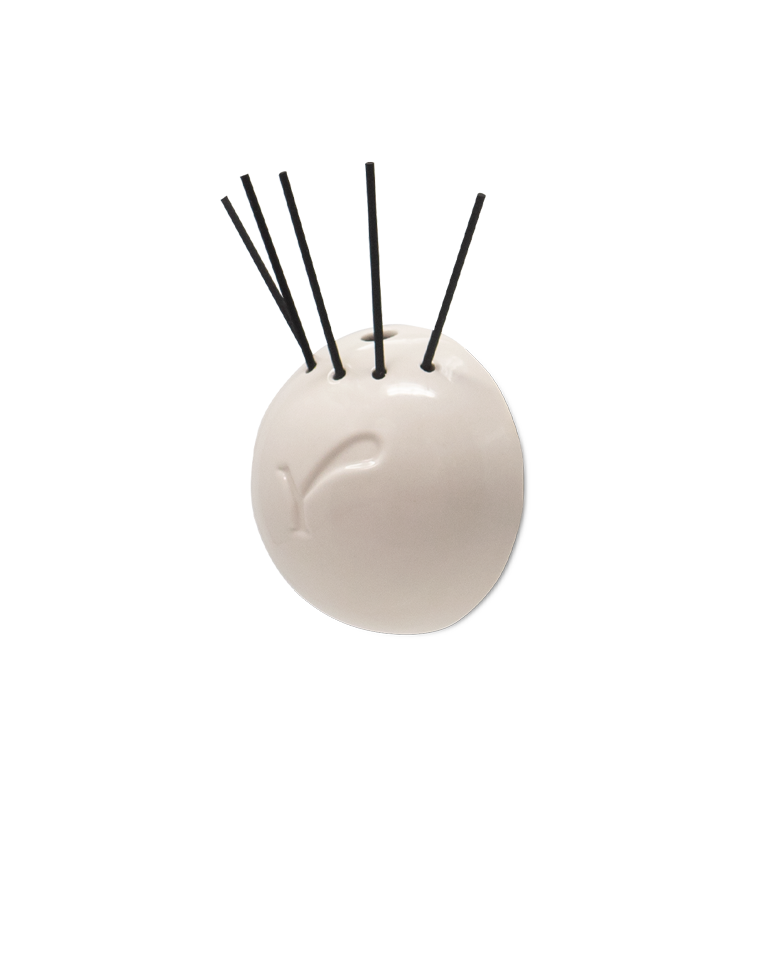
Using our Plug-in Diffuser ~
It’s all about very fine fragrance.
PREPARING A NEW PLUG-IN DIFFUSER
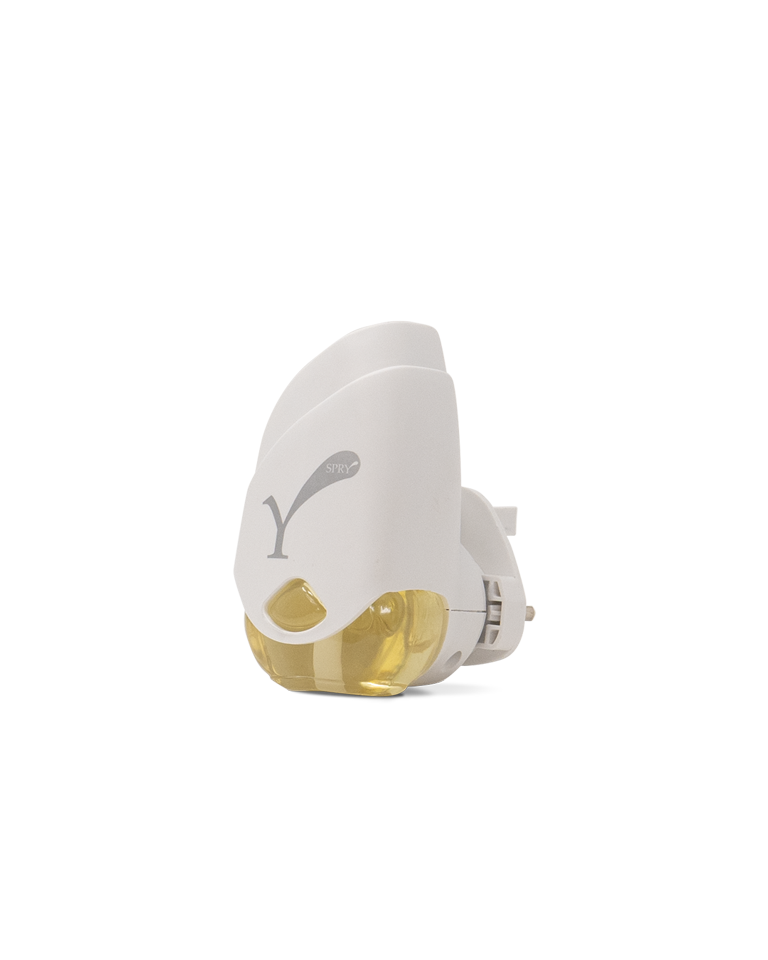
Remove the cap from the fragrance reservoir. Insert the reservoir into the base of the plug-in unit ensuring it clicks firmly into place.
NOTE ~ Take care to keep the reservoir in the upright position and avoid spillages.
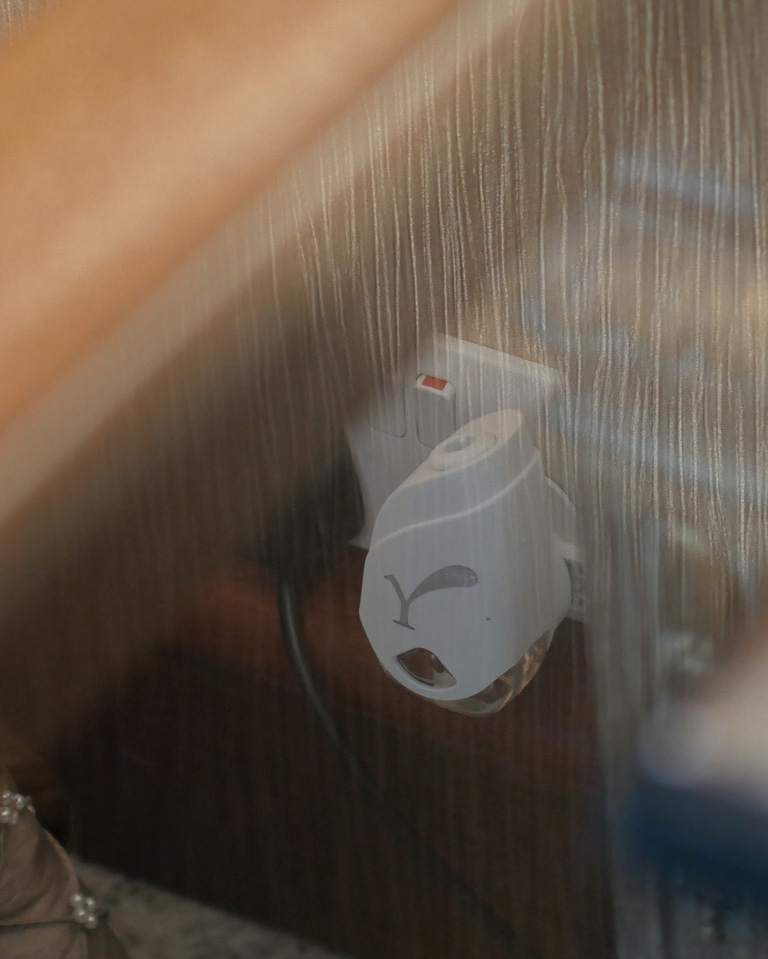
POSITIONING A PLUG-IN DIFFUSER
Hide your plug-in diffuser behind some furniture or a plant pot if you want to be discreet, or place it in full view on the worktop or in the hallway.
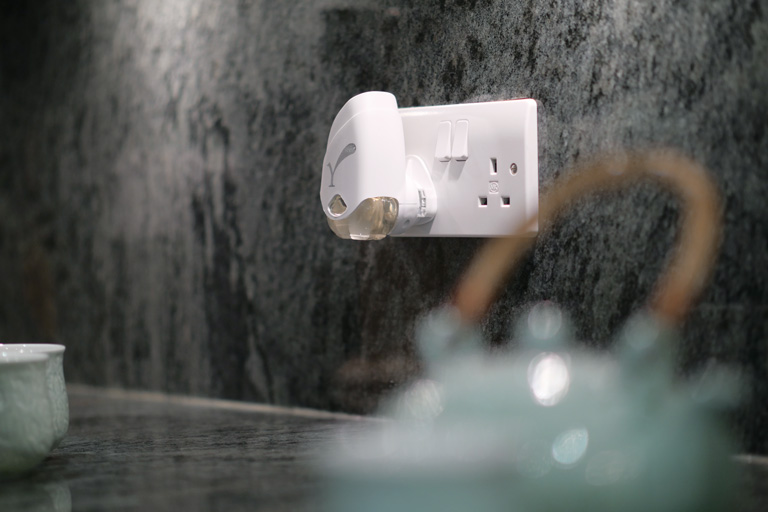
ACTIVATING A PLUG-IN DIFFUSER
Once plugged in and switched on, the device will begin to share the fragrance almost immediately.
RELATIVE ROOM SIZES
Naturally, to fragrance larger rooms will require more plug-in or other types of diffusers. Here’s some guidance to achieve a satisfactory diffusion for rooms with ceiling heights up to 4m:
up to 5 m2 ~ one plug-in diffuser
5 – 10 m2 ~ one or two plug-in diffusers
10 – 20 m2 ~ two or three plug-in diffusers
DIFFUSING SCENT BY PLUG-IN
Diffusing fine fragrance by plug-in is the discreet and neat way forward, smokeless and silent. It performs on very little current to push scent up and around a room.
NOTE ~ Switch it off overnight to ensure the optimum diffuse of each cartridge.
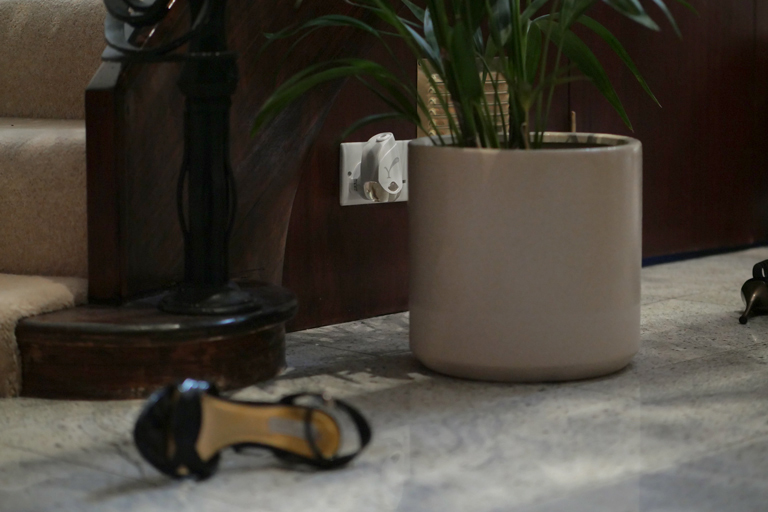
TURNING THE PLUG-IN OFF
Simply switch off at the socket to pause the diffuser’s operation.
NOTE ~ To preserve the cartdidge contents over a longer period, remove it from the device and apply the cap.
REFILLING A PLUG-IN DIFFUSER
Purchase compatible refill cartridges from Spry and follow the same process for preparing a new plug-in diffuser.
Using our Car Vent Diffuser ~
Seatbelt, ignition, diffuser.
PREPARING A NEW CAR VENT DIFFUSER
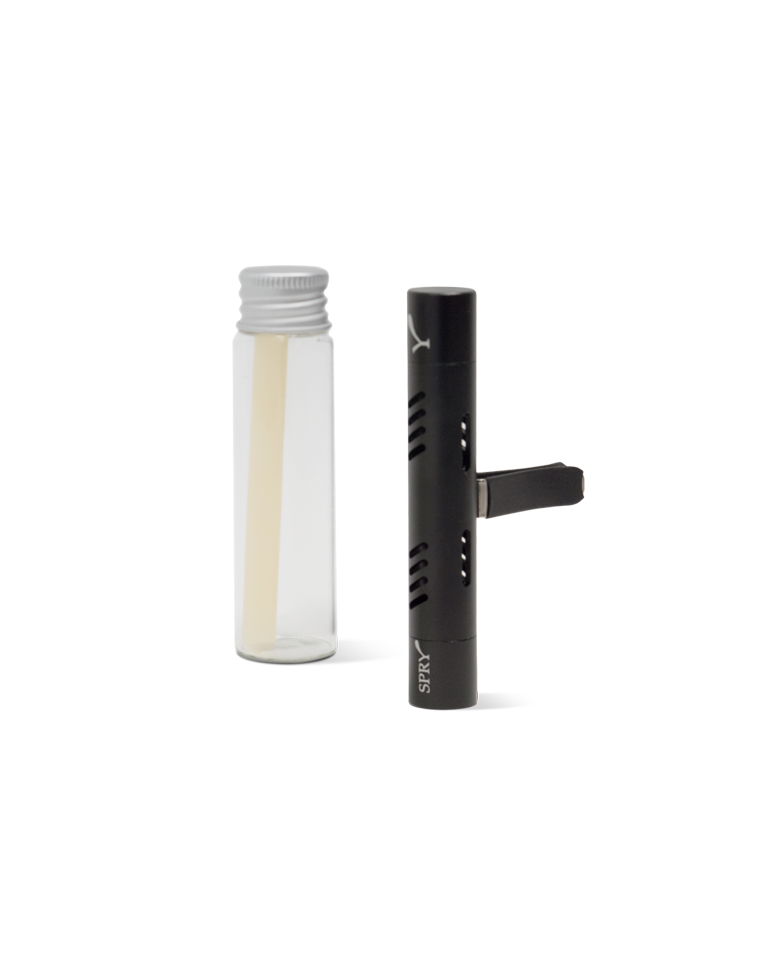
Unscrew one end of the diffuser unit to gain access. Remove the perfumed reed from its glass bottle and insert loosely into the unit. Replace the unit’s end cap and tighten securely.
NOTE ~ Please wear gloves when handling the scented stick. Take care not to allow the scented stick to touch the interior of your car or clothes as this may cause damage. Wash off immediately if contact is made.
POSITIONING A CAR VENT DIFFUSER
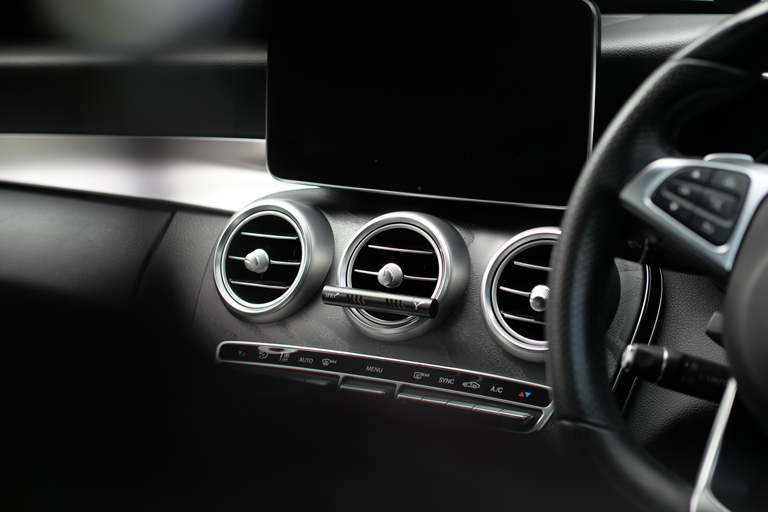
Insert the diffuser unit clip into a convenient position on your car ventilator grill to allow air to flow through the unit.
Your car vent design will determine whether your diffuser fits horizontally or vertically.
ACTIVATING A CAR VENT DIFFUSER
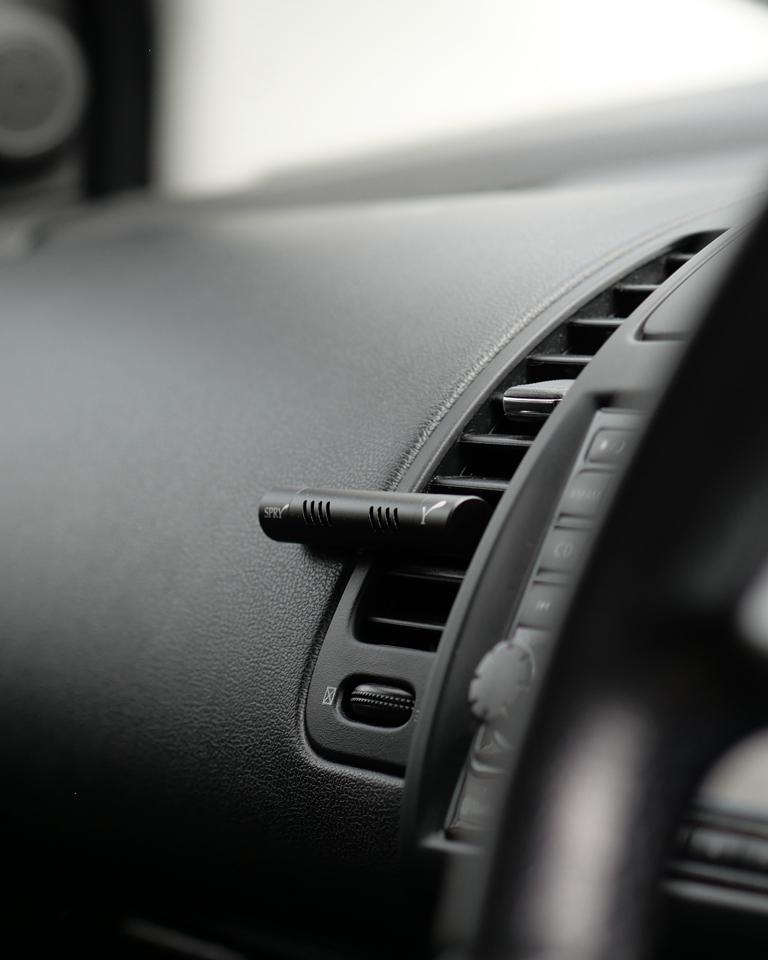
Open the vent (in part or wholly) or switch on the car ventilation system to push more air through the diffuser. Fine scent will diffuse with any breeze, and heat will alter the intensity of the scent.
DIFFUSING SCENT BY CAR VENT
Fine fragrance in the cabin is real luxury, so let’s enjoy this. You need only open your vent just slightly, without activating the heater, to achieve the optimum diffuse.
Blow the AC cool or warm for a different intensity of fragrance, as you like.
NOTE ~ Take care when using the car heater as the unit may become hot.
TURNING THE CAR VENT OFF
Close the vent to pause the diffuser’s operation.
REFILLING A CAR VENT DIFFUSER
Purchase compatible refill cartridges from Spry and follow the same process for preparing a new car vent diffuser.
NOTE ~ Please wear gloves when handling the scented stick. When handling the element, avoid contact with skin and eyes. Wash off immediately if contact is made.
Using our Hanging Diffuser ~
Designed for the car cabin, it’s also used in wardrobes and gym lockers, on radiators and loo-roll holders!
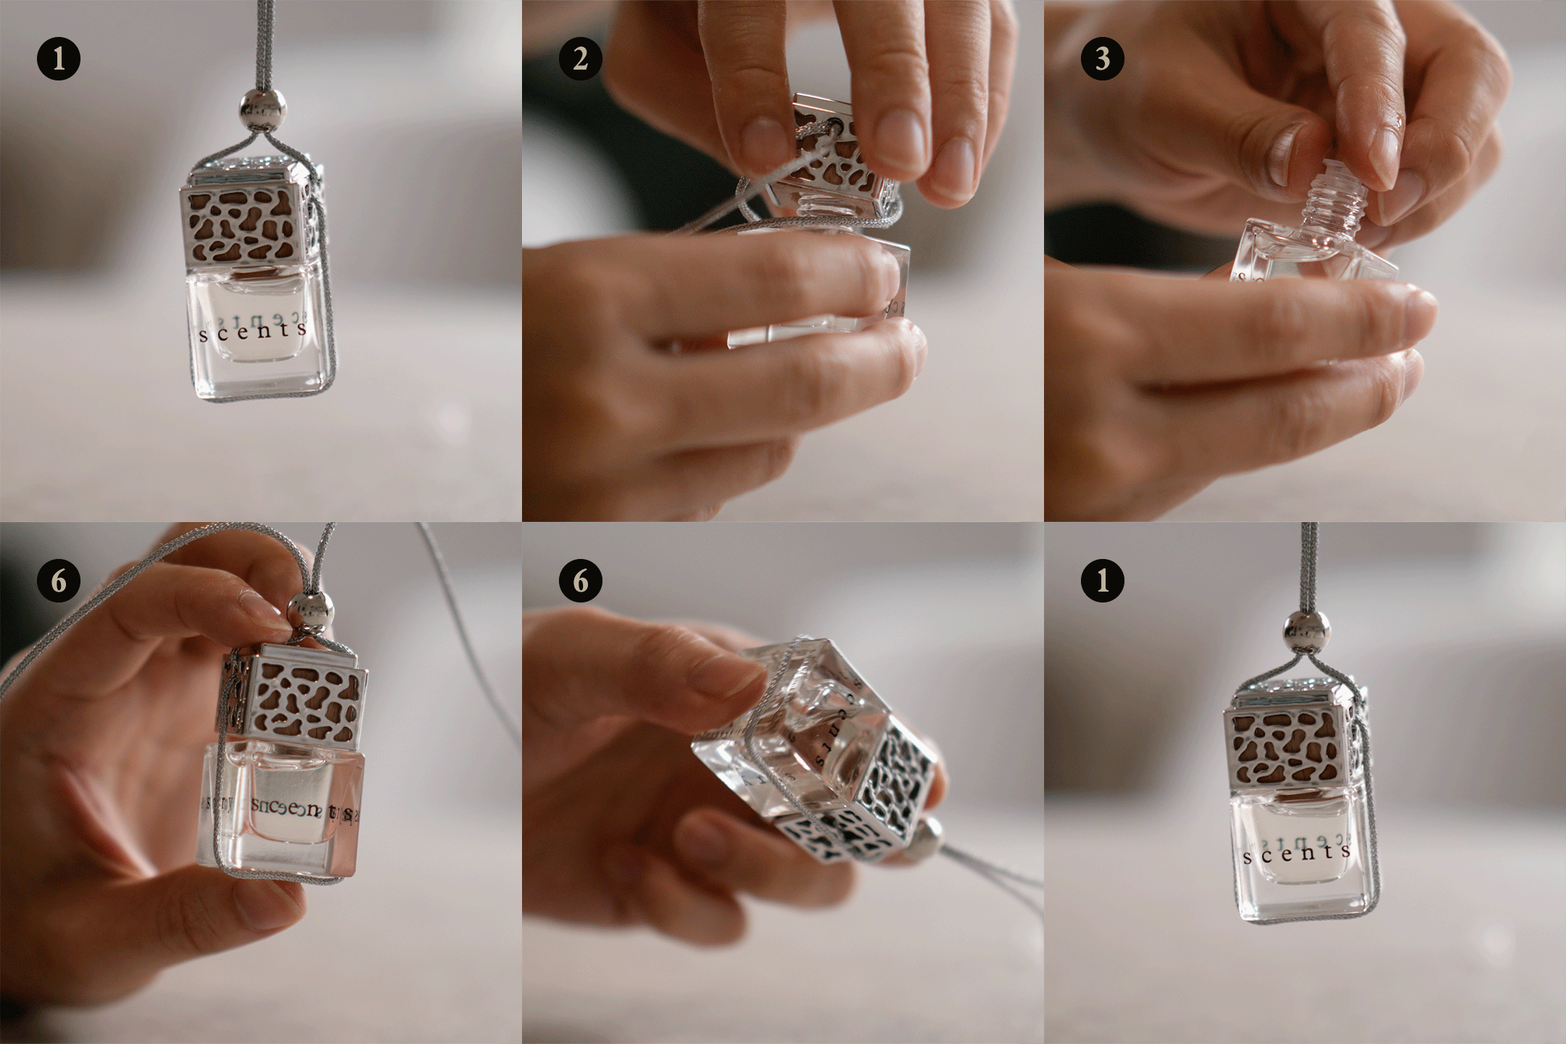
PREPARING A NEW HANGING DIFFUSER
1. Remove the diffuser from its packaging
2. Unscrew and remove the chrome lid
3. Carefully remove the inner stopper
4. Keep the bottle upright and return the chrome lid
5. Use the ball to secure the cord in place. Ensure the cord is tightly fitted around the bottle to prevent it from becoming loose or falling away
6. Quickly tip the bottle upside down and return upright immediately. This initiates the release of diffuser oil
7. Tie a double knot to secure your diffuser in place and enjoy
8. Periodically check the cord is positioned correctly around the bottle and chrome lid is securely screwed onto the bottle
(NOTE ~ Holding bottle firmly in one hand, carefully prise the inner stopper off with a pointed tool. Do not allow the perfume or lid to touch the interior of your car as this can cause damage. Wash off immediately if contact is made.)
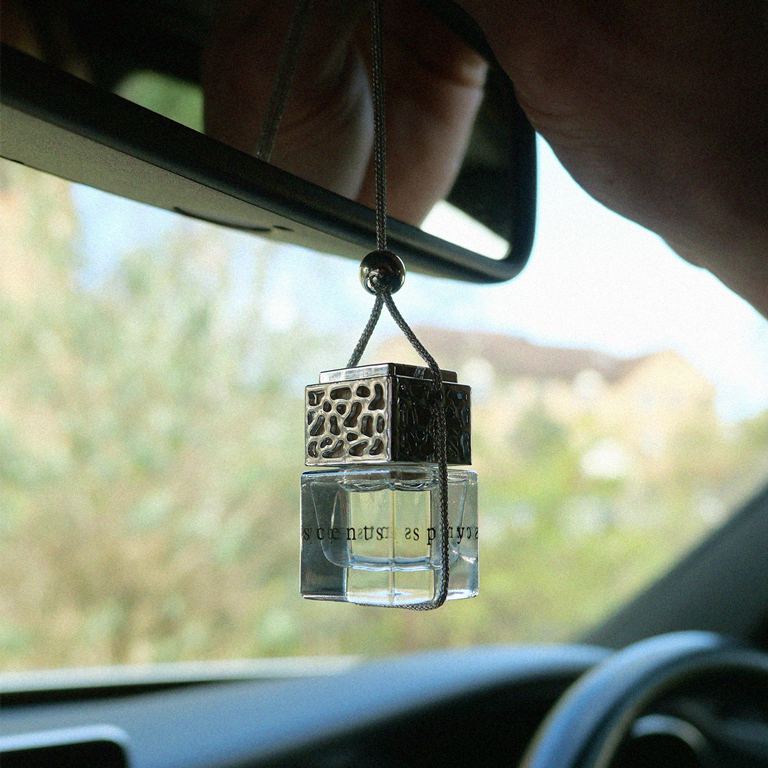
DIFFUSING SCENT BY HANGING DIFFUSER
Avoid overheating your car and exposure to extreme sunshine to achieve the optimum diffuse.
TURNING THE HANGING DIFFUSER OFF
The only way to deactivate the hanging diffuser is to replace the inner stopper.
REFILLING A HANGING DIFFUSER
We do not recommend you to attempt refilling this miniature item.
Diffusing Scented Oil Safely ~
Please enjoy your scented oil products and diffuse safely, always.
FOLLOW THIS GUIDANCE FOR SAFETY
Do not digest.
Do not use on skin.
Keep out of reach of children and pets.
People suffering from perfume sensitivity should be cautious when using essential oil products.
Do not decant Spry diffuser oil into plastic vessels.
Store right way up, in a cool, dry place.
Dispose of contents/container to an appropriate disposal facility in accordance with local regulation.